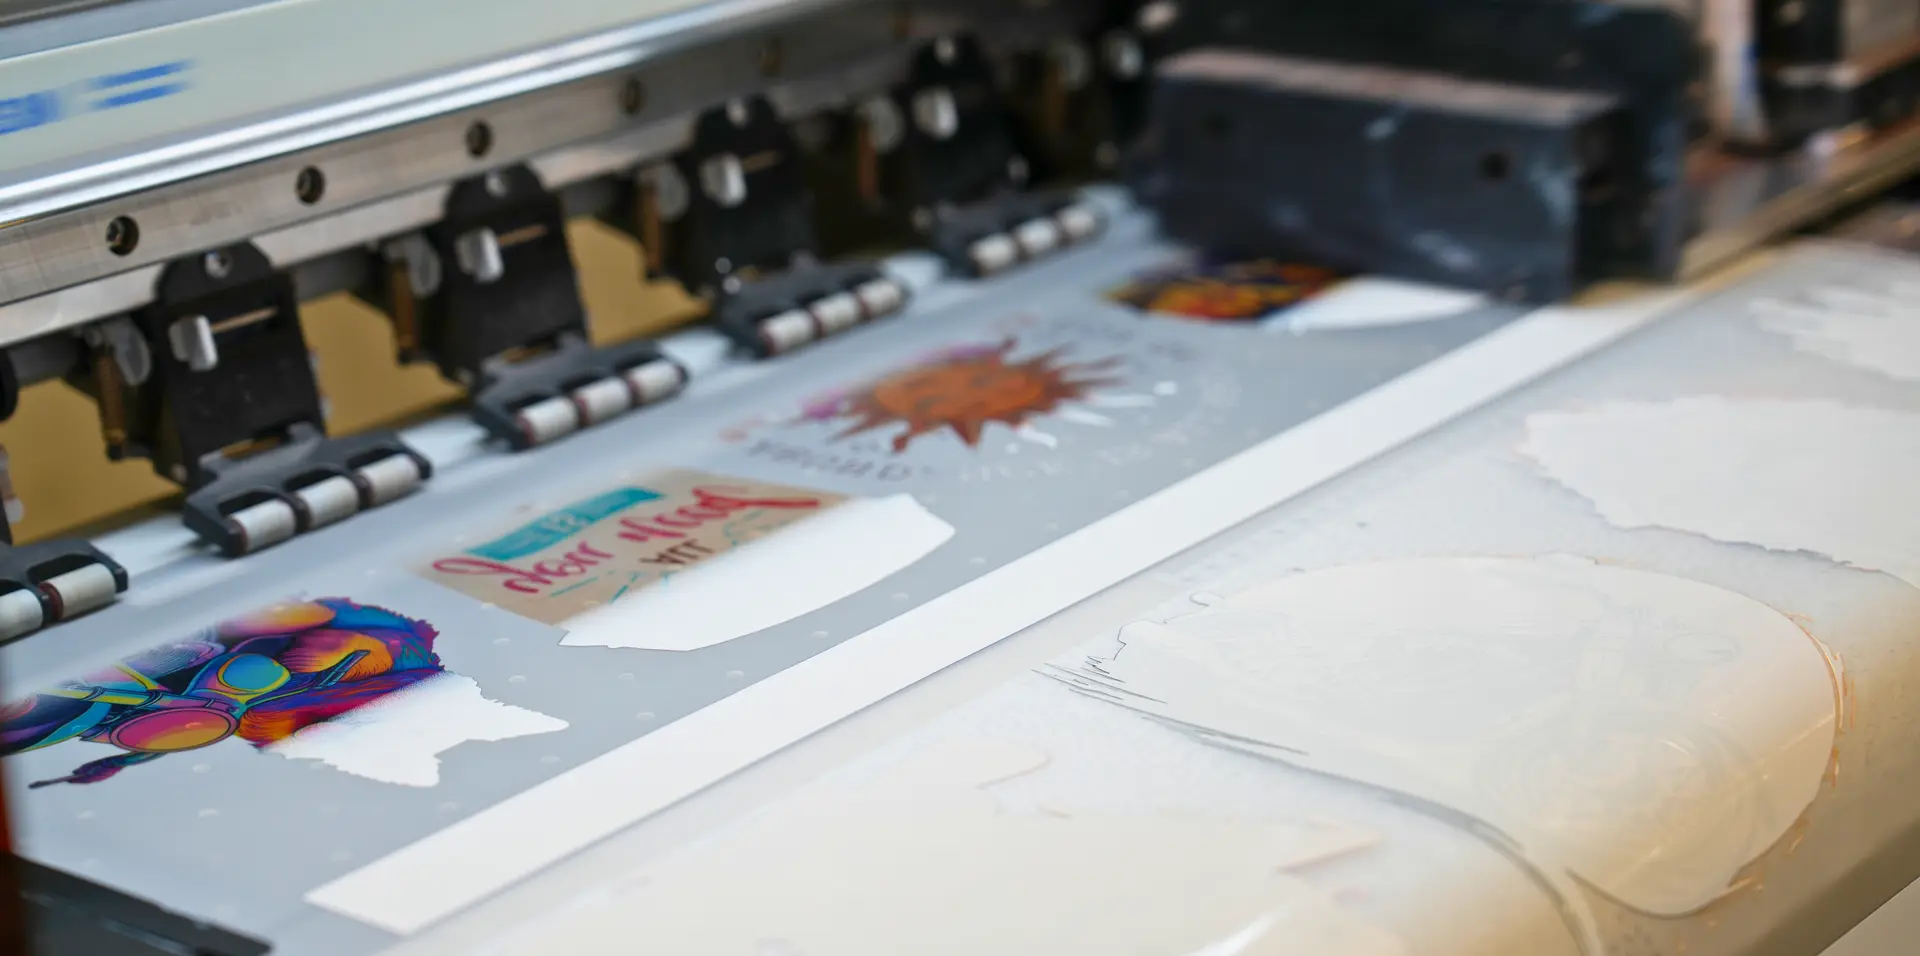
What is DTF printing and how does it work? A guide for businesses meeting DTF transfer technology for the first time - from artwork, through film printing, to applying a finished transfer onto fabric.
DTF stands for Direct to Film. It is a technology in which artwork is printed first onto a special film, and only then transferred onto fabric using a heat press.
In practice this produces a finished transfer - a sheet with the printed design, ready to be pressed on. Because of this, printing and application become two separate stages that don't have to happen in the same place or at the same time.
This is what sets DTF apart from a print applied directly to the fabric. With direct printing, the machine lays the design straight onto the finished garment. With DTF, the transfer is made first, and the garment is "dressed" with the finished design later. That difference has a real impact on how production is organised, which we cover further down.
What does DTF mean?
DTF = Direct to Film. The name describes exactly what happens at the start of the process: the design is printed directly onto a transfer film, rather than straight onto the target material.
There's a simple reason for printing on film. The film acts as a carrier - it holds the design together until application and lets the underside of the print be coated with adhesive, so the design bonds permanently with the fabric under the heat and pressure of the press.
Think of it like a sticker prepared in advance. First the element is made with a layer of adhesive on the back, and it's applied only when it's needed - on the right surface and at the right moment. In DTF, the heat press is what "activates" that adhesive.
How does DTF printing work?
The whole process of making a transfer can be split into six stages. Each one matters for the final result.
01 Preparing the artwork
The design is set up for printing - colours, dimensions and the layout on the sheet are all defined. A correctly prepared file determines how the design looks once transferred and how well the film area is used.
02 Printing on film
The design is printed onto the transfer film. This is where the actual colour and shape of the motif are created. The quality of the finished transfer depends on this print, so the stage needs stable working conditions.
03 Applying adhesive powder
Adhesive powder is applied to the fresh print, coating the underside of the design. This is what later bonds the transfer to the fabric. Without this layer, the motif wouldn't adhere permanently to the material.
04 Curing the transfer
The transfer is cured so that the adhesive powder bonds with the printed layer. This stage sets the print and prepares the underside for application. A well-cured transfer stands up to handling during the transfer stage.
05 Checking the finished transfer
The finished sheet is inspected for print quality and even adhesive coverage. Checking at this stage catches any issues before the transfer reaches a garment.
06 Application onto the garment
The finished transfer is applied to the material using a heat press. This is the final stage, where the design becomes part of the garment. We describe application in more detail below.
What does a finished DTF transfer look like?
A finished transfer is a film sheet with a printed, cured design and a layer of adhesive on the underside. It's prepared so it can be pressed on straight away - with no further print processing.
The key practical benefit: a business doesn't need to own a DTF production line. Instead of investing in a printer, powdering and curing, you can order finished transfers and carry out only the final stage - application on the press.
The path from sheet to printed garment is then simple: the finished transfer goes onto the press, and after pressing and peeling off the film, the design stays on the material.
How is a DTF transfer applied to a garment?
Application is the stage where a finished transfer becomes a permanent print. In simplified terms, it goes as follows:
Preparing the material - the fabric is smoothed and, if needed, pre-heated to remove moisture and creases.
Positioning the transfer - the sheet is placed design-side to the material, at the intended print location.
Using the heat press - heat and pressure activate the adhesive layer and bond the design to the fabric.
Application settings - temperature, time and pressure are matched to the specific product and material.
Peeling off the film - after pressing, the carrier film is removed and the design stays on the garment.
Optional additional curing - if the instructions for a given product call for it.
Important: There are no universal temperature, time and pressure settings for all transfers. They depend on the type of transfer, the material and the press in use - always follow the current instructions for the specific product.
Which materials can DTF be used on?
DTF is used on many kinds of fabric. The most commonly decorated ones include:
Cotton - a popular choice for everyday and promotional clothing.
Cotton-polyester blends- common in T-shirts and hoodies.
Polyester - with caveats around dye migration (see below).
Selected sportswear fabrics - depending on composition and finish.
Selected workwear fabrics - where clear marking matters.
Bags and textile accessories - add-ons and promotional items.
Ground rule: Compatibility of a transfer with a specific material should be confirmed with an application test.
It's worth keeping dye migration in mind. With polyester and sublimated materials, dye from the fabric can, under heat, bleed into the print and change its color. That's why choosing the right type of transfer and testing on the target material matter especially here.